
When a phone, laptop or console suddenly stops charging, won’t boot, overheats, or keeps restarting, the battery often gets blamed first. Fair enough. But if the obvious parts check out, the next question is how to diagnose motherboard faults without wasting money on the wrong repair.
A motherboard fault is different from a cracked screen or worn battery. It can mimic half a dozen other issues, which is why board-level problems get misdiagnosed so often. On phones and laptops especially, one failed chip, shorted rail, damaged connector or corrosion point can knock out charging, audio, touch, display, Wi-Fi or full boot function. The trick is to narrow the fault down before replacing anything.
How to diagnose motherboard faults without guessing
Start with the failure pattern, not the part you suspect. Good diagnostics are about symptoms, history and testing in the right order. If a device died after liquid exposure, a drop, a power surge or a poor previous repair, that context matters. Motherboard faults rarely appear out of nowhere.
The first step is a proper visual inspection. On a laptop or phone board, look for burnt components, missing filters, torn pads, lifted connectors, corrosion, bent pins and pry damage. Even a small mark around a charge circuit, backlight line or power management area can point you in the right direction. On some jobs, the fault is visible in under a minute. On others, the board looks clean and the real issue is electrical.
After that, check the basics before calling it a board failure. Confirm the charger, cable, battery, screen and known failure-point flexes are good. A dead phone with a faulty charge port is not a motherboard problem. A no-display laptop with a failed panel cable may still have a healthy board. You want to rule out the fast, affordable repairs first.
Start with the symptom that matters most
Different symptoms suggest different parts of the board. No power is not the same as no display. Boot looping is not the same as random shutdown. Device behaviour saves time if you read it properly.
No power or no charging
If the device shows no signs of life, test incoming power first. Is voltage reaching the board? Is current draw present when connected to a power supply? On phones, a USB ammeter or DC power supply can reveal whether the board is trying to boot, stuck on a short, or drawing nothing at all. On laptops, charger detection, battery line health and DC-in circuit condition matter just as much.
A shorted main rail often causes heat in a specific area. That can point to a failed capacitor, charging IC or power management IC. But heat alone is not a diagnosis. It only tells you where to keep looking.
Boots, but not properly
If a device powers on but won’t complete startup, the fault may sit around storage, CPU communication lines, baseband, RAM-related circuitry or a damaged peripheral pulling the board down. Some boot loops are software. Others are pure hardware. This is where history helps. If the issue started after a drop, board flex damage or cracked solder joints become more likely. If it followed water damage, corrosion under shields may be the real cause.
No display, no touch, no sound or no network
Function-specific faults are often easier to isolate. A phone with image but no backlight points you toward a display power or backlight circuit issue. A laptop with charging and fan spin but no screen may need board output testing rather than a panel swap. No audio can relate to codec damage, amplifier faults or known IC failures. No network or Wi-Fi can come down to damaged lines, missing components or liquid damage around RF sections.
This is where schematic knowledge and boardview access make a big difference. Without them, you can spend hours replacing parts that were never faulty.
The tools that make motherboard diagnosis faster
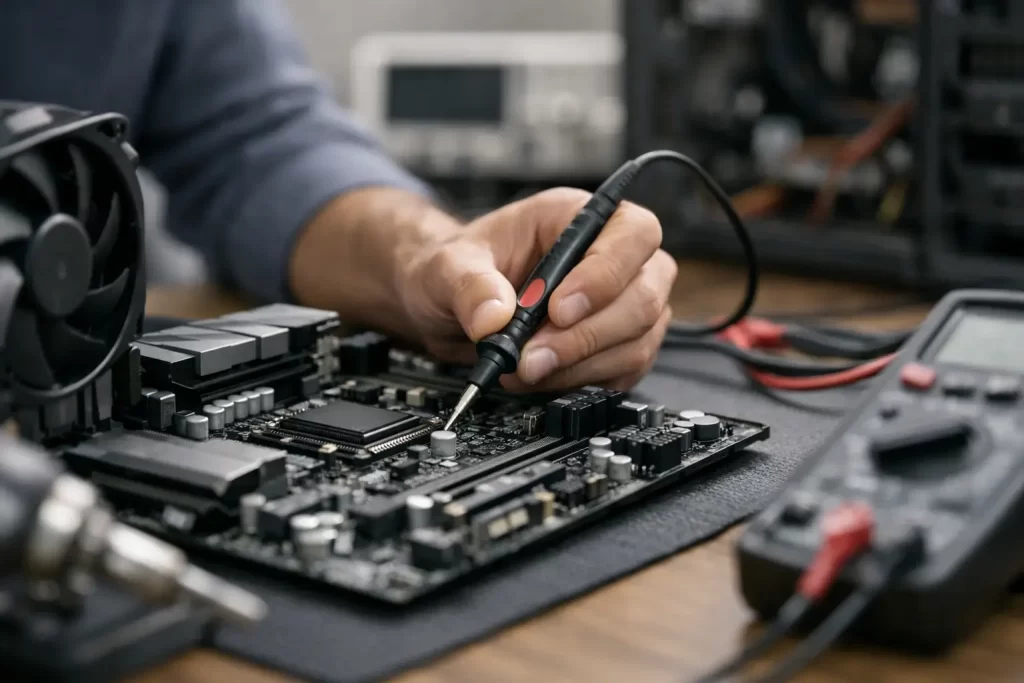
If you are serious about learning how to diagnose motherboard faults, you need to understand what each tool actually tells you. A multimeter is the starting point. It helps you check continuity, diode mode readings, resistance to ground and voltage presence on key lines. It will not tell you everything, but it rules out a lot quickly.
A bench power supply adds another layer. It shows current draw patterns during boot attempts. That matters because current behaviour often reveals whether a board is shorted, trying to start, stuck in a loop or fully dead.
Thermal imaging, freeze spray or isopropyl alcohol can help locate abnormal heat. Useful, yes. Definitive, no. A hot component may be the failed part, or it may just be where the short shows up.
Microscope inspection is non-negotiable for serious board work. Tiny corrosion points, cracked joints and ripped pads are easy to miss with the naked eye. On modern phones and compact laptops, you are dealing with dense layouts and very small components. Guesswork is expensive.
For advanced jobs, schematics and boardviews are what turn testing into diagnosis. They help identify rail names, component locations, fuse paths, coil outputs and communication lines. Without that map, even skilled soldering can turn into trial and error.
Common motherboard faults and what usually causes them
Not every motherboard issue needs chip replacement. Sometimes the problem is a damaged connector, a blown filter, a corroded line or a failed capacitor. Other times the repair is more involved.
Liquid damage is a major one in Darwin. It does not always kill a device immediately. Corrosion can build slowly and cause delayed charging issues, battery drain, touch failure, no backlight or complete no-power faults days or weeks later. A device that “worked for a bit” after getting wet is a classic board-repair case.
Drop damage is another common cause. The outside may look fine while the board has fractured solder joints, torn pads near connectors or damaged ICs from flex. This is common in phones, tablets and thin laptops.
Then there are failed repair attempts. Torn battery connectors, ripped charge-port pads, damaged display lines and missing components after poor-quality work are all regular motherboard jobs. In these cases, diagnosing the original fault is only half the challenge. You also need to identify what happened during the attempted repair.
Power surges, bad chargers and failing batteries can also damage charging circuits. On laptops and gaming consoles, HDMI, USB-C and power input sections are common failure areas because they take mechanical stress as well as electrical load.
When to test further and when to stop
This part matters. Good diagnostics are not about proving you can chase every fault forever. They are about deciding whether the repair is viable.
If a board has heavy corrosion across multiple areas, previous pry damage, missing layers or signs of severe shorting on major rails, repair may still be possible, but it depends on the device value and the customer’s priorities. Data recovery, for example, may still be worth attempting even when full repair is not.
If testing shows a fault in a replaceable charging IC, backlight circuit, audio circuit or connector area, the path is usually clearer. If the CPU, memory or storage package is involved, complexity and risk go up fast. That does not always mean no. It means expectations need to be realistic.
For small businesses and busy customers, speed matters too. A straightforward battery or port repair is often same-day. Board-level diagnosis takes longer because the fault must be confirmed before repair starts. That extra time is what prevents money being spent on the wrong part.
When professional motherboard diagnostics make more sense
You can do some early checks at home. Try a known-good charger. Test an external display on a laptop if relevant. Watch for charging signs, heat, restart loops, missing image or accessory failure. But once the issue points to the board, DIY usually stops being cost-effective.
Modern electronics are tightly packed, adhesive-heavy and easy to damage during disassembly. Board-level work is another step again. Micro-soldering, rail tracing and short finding need the right tools and the right experience. One wrong move can turn a repairable board into a data-loss problem.
That is why a proper workshop does not just swap parts until something works. It diagnoses first, confirms the failed area, then repairs with a clear plan. For customers, that means less downtime, fewer repeat issues and a better chance of saving a device that others would write off.
At iSmashed, that practical approach matters because not every fault is obvious and not every dead device is actually dead for good. The goal is simple – find the real failure, fix what is fixable, and do it without wasting your time.
If your phone, laptop, tablet or console is showing signs of a board issue, the smartest next step is not to keep guessing. It is to get the fault narrowed down properly while the repair is still worth doing.