
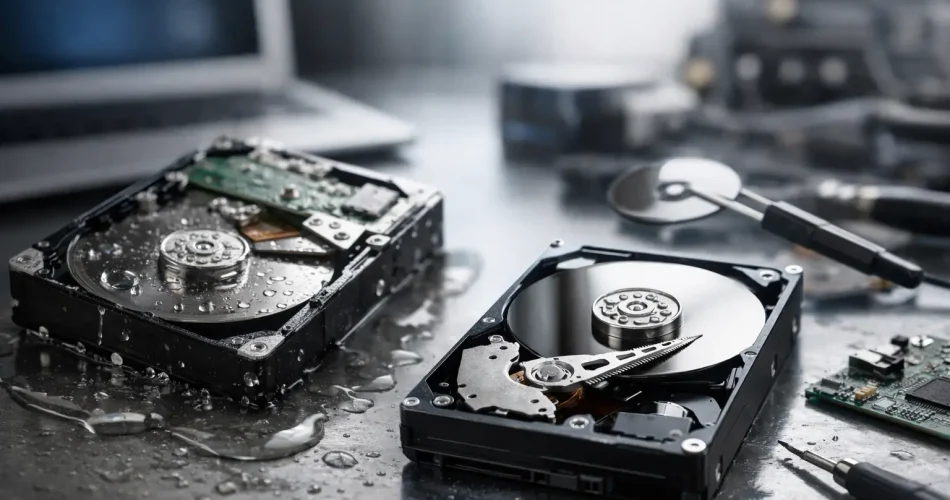
A Water Damage Data Recovery Example That Worked
A phone dropped into water can look completely dead within minutes. But dead screen does not always mean lost photos, work files or messages. This water damage data recovery example shows why the first repair decision matters more than simply trying to turn the device back on.
A Darwin customer brought in an iPhone after it slipped from a pocket into a sink. It had been underwater only briefly, but the display was black, the phone would not charge and it became warm when a cable was connected. The customer’s priority was not a new screen or getting the phone replaced. It was recovering years of family photos, business contacts and notes that had not been backed up recently.
The phone was recoverable, but not because it was plugged in, dried with heat or left in rice. Those actions can make a board-level fault worse. Recovery started by stopping further electrical damage, assessing the logic board and working towards one goal: getting the original phone stable enough to access its encrypted data.
Water damage data recovery example: what happened first
Water is not the only problem inside a wet device. Once power is present, minerals and contaminants in the liquid can create short circuits between components. Corrosion then continues after the phone appears dry, particularly around connectors, charging circuits, display lines and power-management components.
In this case, the customer had tried charging the iPhone before bringing it in. That is understandable. Most people need their phone working immediately. But the heat near the charging port suggested a short on a power rail, so charging was stopped straight away.
The device was opened and disconnected from power. The logic board was inspected under magnification for corrosion and liquid residue. The visible damage was concentrated near the lower section of the board and display connector area, but water damage is rarely limited to what can be seen from the outside.
A standard screen replacement would not have solved this fault. The display itself had failed, but the phone was also drawing abnormal current. Fitting a new screen and attempting repeated boots could have placed more stress on an already compromised board. For data recovery, the safer path was diagnosis first, repair second.
The repair path: stabilise, test, then recover
The board was cleaned using professional equipment and tested with a bench power supply. This lets a technician monitor the way a device draws power during startup instead of relying on a battery and charger. An abnormal current pattern can point towards a shorted component, a failed charge circuit or a damaged power line.
After cleaning, the phone still would not boot normally. Board-level testing identified a fault in the display-related circuit along with corrosion affecting a small component on a power line. This is where micro-soldering matters. The damaged component was removed, the affected area was repaired and the board was retested before a known-good display was connected.
The goal was not to rebuild the phone cosmetically before checking the data. It was to achieve a stable boot long enough for the customer to unlock the device and create a backup. Modern iPhones encrypt data using hardware tied to the original logic board. Moving the storage chip to another phone is not a simple shortcut. In many cases, the original board must be repaired sufficiently to start and authenticate normally.
Once the phone booted, it was kept on charge under observation while a full backup was created. The customer confirmed that their photos, contacts, notes and recent work documents were present. Only after the data was secured did the conversation move to whether a full device repair was worthwhile.
That order of work reduced the risk. If a repair becomes uneconomical, if hidden corrosion creates later faults or if the handset is better replaced, the important files are already protected.
Why a quick fix can be the wrong fix
Some water-damaged phones need only a charging-port clean, battery replacement or screen replacement. Others have a failed backlight circuit, audio IC issue, boot loop, no-power condition or corrosion beneath board shields. The right approach depends on where the liquid travelled, whether power was applied and how long the device sat before treatment.
There is a trade-off between speed and certainty. If a customer needs the device back for a shift that afternoon, a technician may first assess whether a straightforward repair is safe and realistic. If the device contains irreplaceable photos or critical small-business records, preserving data should take priority over getting it looking normal quickly.
That is also why a device can appear to recover after drying, then fail days later. Moisture may evaporate, but corrosion does not simply disappear. A phone that switches on after a night near a fan can still have weakened components or residue causing intermittent faults. Back up the data immediately if it boots, then have it assessed.
What to do when a phone or laptop gets wet
Your first few actions can improve the chance of recovery. Do not keep testing whether it works. Do not plug it in for one more try.
- Turn the device off if it is still powered on, then disconnect chargers, headphones and accessories.
- Remove the case, SIM tray and any easily removable external parts. Gently wipe visible moisture from the outside.
- Keep it away from heat guns, ovens and direct sun. High heat can damage batteries, screens, seals and delicate board components.
- Bring it in for assessment as soon as possible, especially if it is warm, will not charge, shows lines on the screen or repeatedly restarts.
Rice is not a repair method. It does not remove corrosion from a logic board, and loose dust can enter charging ports and speakers. Silica packets may reduce surface moisture in a sealed container, but they do not replace professional cleaning or diagnostics when the device has been powered while wet.
For laptops, the advice is even more urgent. Shut the machine down, disconnect the charger and avoid opening and closing the lid repeatedly. Liquid can reach the keyboard, battery, motherboard and SSD. A Windows laptop or MacBook may store important files locally, so early assessment can make a real difference.
Data recovery is not always guaranteed
A professional technician should be clear about the limits. Water damage can destroy components that are essential for startup, and severe corrosion can continue beneath chips or inside layered boards. If a device has been exposed to saltwater, sugary drinks or detergent, the contamination can be more aggressive than clean tap water.
Data recovery can also be limited by a forgotten passcode, failed Face ID-related security components on certain devices, damaged storage hardware or a device that cannot be brought to a stable boot state. A repairable phone is not automatically a recoverable-data phone, and vice versa.
The positive part is that no-power does not automatically mean no chance. Advanced diagnostics and micro-soldering can often address failures that sit beyond routine parts replacement. At iSmashed, the assessment focuses on the actual failure mode – whether that is a shorted line, charge-port damage, failed display circuit, boot loop or deeper logic board fault – before recommending the most sensible next step.
Protect the data once it is back
The successful recovery in this example was only half the job. After the backup was complete, the customer enabled automatic cloud backup and copied key documents to a separate location. That gives you options if a future device is lost, damaged or stolen.
For small businesses, keep critical files outside a single phone or laptop wherever possible. Customer contacts, invoices, job photos and authentication details can all cause serious disruption when they live on one device. A simple backup routine costs far less than emergency recovery work.
If your wet device still turns on, use that window to back it up. If it is black, hot, boot-looping or refusing to charge, leave it off and get it assessed before another charging attempt turns a recoverable fault into a harder one.
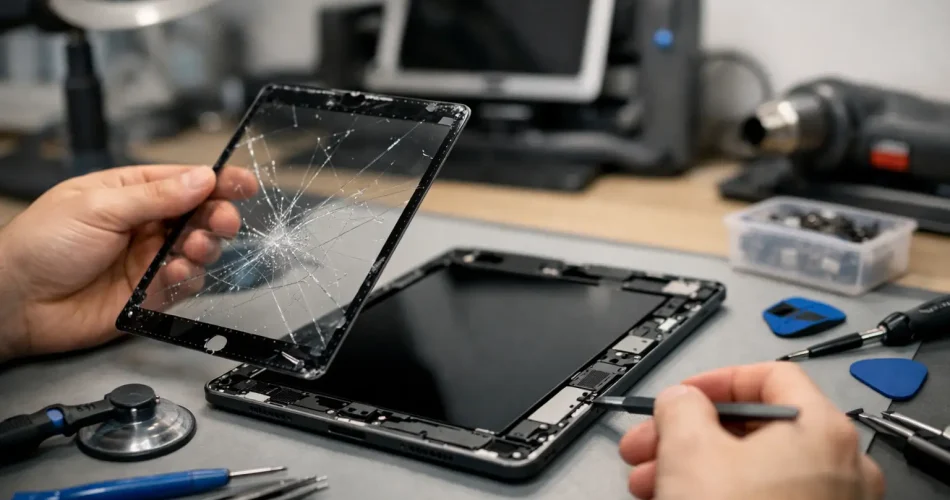
iPad Screen Replacement Guide for Darwin Owners
A cracked iPad screen is more than an annoying line across the display. It can make schoolwork hard to read, cut small fingers on broken glass, stop touch controls from responding and turn a work tablet into dead weight. This iPad screen replacement guide explains what has likely failed, when a screen repair is the right move and what to expect before handing over your device.
Is the iPad screen actually broken?
The obvious sign is cracked glass after a drop. But iPad screen faults are not always that simple. Your screen may look intact while the display shows coloured lines, dark patches, flickering, a permanently black image or a white glow around the edges. You may also see ghost touches, where the iPad opens apps or types by itself, or find that one section no longer responds to your finger or Apple Pencil.
These symptoms point to different faults. On some iPad models, the outer glass digitiser and LCD or OLED display are separate components. If the glass is cracked but the picture and touch function are normal, a digitiser-only repair may be possible. On newer models, the glass, display and touch layer are commonly bonded together. A crack, dead touch area or image fault may require a complete display assembly.
That difference matters to the price, parts required and repair time. A proper diagnosis avoids paying for a full display when the damage is limited, but it also avoids fitting glass-only parts to an iPad with a damaged panel underneath.
Do not ignore a cracked screen
An iPad can keep working after a minor crack, but using it as normal has risks. Loose shards can worsen, moisture and dust can enter through the damaged front, and pressure from a case or bag can turn a small crack into a failed display. If the screen has sharp edges, cover it temporarily with a screen protector or clear tape and keep it away from children until it is repaired.
If the tablet was dropped hard, check more than the glass. Test the cameras, speakers, charging port, buttons and Wi-Fi. A bent frame, battery swelling, intermittent charging or a screen that repeatedly goes black can indicate impact damage beyond the display. Screen replacement alone will not solve a logic board fault, damaged connector or bent housing.
A swollen battery needs prompt attention. Do not press the screen back down, charge the iPad overnight or try to puncture or flatten the battery. Stop using it and arrange an assessment.
iPad screen replacement guide: repair or replace?
For most people, repair makes sense when the iPad is otherwise reliable and still suits how they use it. A screen replacement can give a well-performing tablet several more useful years, especially for family use, streaming, Point of Sale, study or travel.
Replacement may be the better value if the iPad is already slow, cannot run the apps you need, has very limited storage, suffers multiple hardware faults or needs expensive board-level work after liquid damage. It depends on the model, its age and the condition of the rest of the device. An older iPad with only cracked glass is a very different decision from one with a cracked screen, failing battery and charging issue.
Before approving a repair, ask for a clear assessment of the visible damage and any likely extra work. A good repairer should explain whether the quote covers the digitiser only or the complete display, whether the frame needs straightening, and what happens if hidden damage is found once the device is opened.
Why iPad screens are not a simple DIY job
Online repair kits make an iPad screen swap look quick. In reality, iPads are tightly assembled with strong adhesive, delicate flex cables and batteries sitting directly below the display. Excess heat can damage the LCD, battery or nearby components. A misplaced pry tool can tear a cable, crack the panel further or cause board damage.
Older iPads can be particularly unforgiving. Their digitiser cables may sit close to the edge where the glass is lifted, while some newer designs need careful transfer of small components and precise adhesive fitting. If the frame is bent, a replacement screen may not sit flat and can crack again under normal pressure.
There is also the quality question. Cheap parts can have poor brightness, dull colour, reduced touch accuracy, weak adhesive or fitment gaps. A professional repair is not just about removing broken glass. It is about using a suitable-quality part, protecting the internals, restoring the seal and testing the device properly afterwards.
What a professional repair should include
A screen repair should begin with testing. The technician needs to confirm the iPad powers on, responds to touch, charges and displays an image before work starts where possible. This creates a clear baseline and helps identify pre-existing faults.
The damaged screen is then removed with controlled heat and the right tools. Adhesive residue and broken glass are cleaned away, the frame is inspected and any debris near the front camera, home button or sensors is removed. The replacement part is fitted, connected and tested before final sealing.
At minimum, the post-repair checks should cover touch response across the entire screen, display brightness and colour, charging, cameras, speaker and microphone function, buttons, Wi-Fi and Bluetooth. If your model supports Apple Pencil, test that as well. A screen that turns on is not necessarily a screen repair done properly.
At iSmashed, repairs are assessed with the wider device in mind. If testing points to a charge-port fault, backlight failure, liquid damage or a logic board issue rather than a screen-only fault, that should be identified before you spend money on the wrong repair. Some faults need advanced diagnostics, micro-soldering or data recovery work rather than another display.
How long does iPad screen replacement take?
Many straightforward screen repairs can be completed quickly, often in under an hour when the correct part is available and the frame and internals are in good condition. However, no repairer should promise a fixed time without seeing the device. iPad model, stock availability, adhesive cure time, a bent housing, water damage and hidden impact faults can all extend the job.
If you rely on the iPad for work, ask about turnaround before booking. Darwin customers often need a practical answer: can the repair be done around a shift, a class or travel plans? A repair service that offers an in-store Darwin CBD option and free come-to-you service can reduce downtime, but the repair environment still needs to be suitable for safe, clean work.
Back up the iPad before repair if it still works. Use iCloud or a computer, and make sure you know the device passcode and Apple Account details. Most screen repairs do not require data deletion, but a current backup is sensible before any device is opened. Never share account passwords unnecessarily.
Questions to ask before you book
Price matters, but the cheapest quote can become costly if the part fails early or a fault is missed. Get clarity on the model being repaired, the type of screen part being installed, the expected turnaround and the warranty terms. A clear 3-month parts warranty gives you a defined path if a covered part issue appears after repair.
Also ask whether the quote changes if the frame is bent or the display damage is deeper than first expected. This is common after a hard drop. Transparent communication is the difference between an unexpected bill and an informed decision.
Once repaired, use a fitted case with a raised lip and a quality screen protector. It will not make an iPad indestructible, but it can absorb the small impacts that cause most repeat cracks. If your display is already broken, act before a simple front-glass repair becomes a larger device problem.
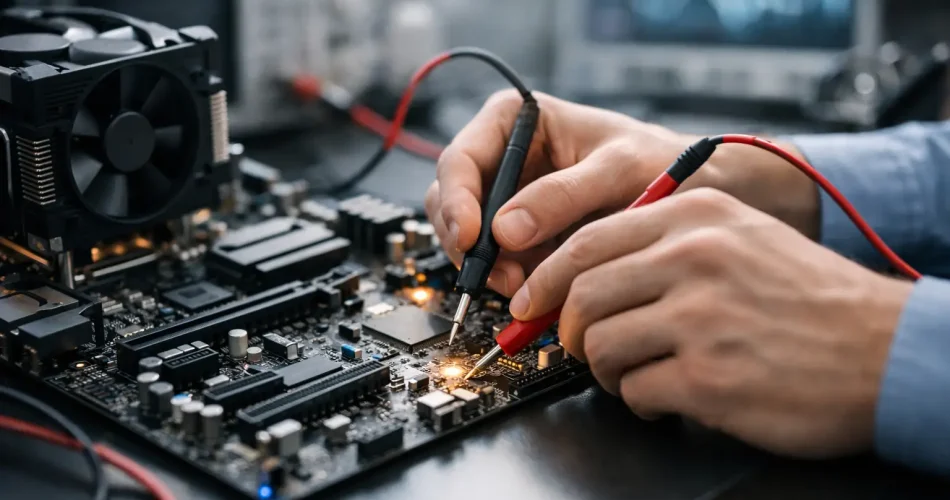
Motherboard Diagnostics Explained Clearly
A phone that will not charge, a laptop with no display, a console that powers on then dies – most people call it “dead”. In repair terms, that is where motherboard diagnostics explained clearly makes a real difference, because the board is often the actual fault point, not the battery, screen, or charging cable.
When a device stops working properly, the motherboard is the part that ties everything together. It manages power, communication between components, storage access, charging behaviour, and startup. If that board has a fault, the symptoms can look random. One day the phone restarts on its own. The next day it gets hot near the charging port. Then it stops turning on altogether. Good diagnostics are how you separate a simple part failure from a board-level problem.
What motherboard diagnostics explained clearly really means
At its simplest, motherboard diagnostics means testing the board to find where the failure is happening and why. That sounds obvious, but there is a big difference between guessing and diagnosing.
A basic repair shop might swap the battery, test a charger, or replace an obvious broken part. That is fine when the problem is straightforward. Board diagnostics go further. A technician checks power lines, short circuits, charging behaviour, current draw, damaged components, corrosion, failed chips, missing voltages, and signs of previous poor repair work.
The goal is not just to identify that the motherboard is faulty. The goal is to locate the exact area of failure. That might be a charging IC, a shorted capacitor, a damaged backlight circuit, a failed audio chip, liquid damage around a connector, or a CPU-related issue that makes repair less viable.
That distinction matters because accurate diagnosis saves time, avoids unnecessary part replacement, and gives you a clearer answer on whether the device is worth repairing.
Why motherboard faults are often misread
Board faults rarely announce themselves neatly. A dead phone can still have a healthy screen and battery. A laptop with no image might have a working display panel but a failed backlight circuit. A tablet that only charges at one angle may not need a new battery at all – it could be charge-port damage or a board fault on the charging line.
This is why symptom-based guessing can waste money. The same symptom can come from several different faults.
Take boot looping as an example. It could be software corruption, storage failure, power instability, a damaged line on the board, or liquid residue causing an intermittent short. Water damage is another common trap. A device may appear to recover after drying out, then fail a week later once corrosion spreads under shields or around fine-pitch components.
That is where proper board-level testing matters. It tells you whether the issue is isolated and repairable, or whether the failure has spread into more critical areas.
Common signs your device needs motherboard diagnostics
Some faults point more strongly to the motherboard than others. If a device is completely dead, stuck on a logo, not charging despite multiple cables and chargers, overheating quickly, showing no image with sound still present, or repeatedly restarting, board diagnostics are usually the next sensible step.
The same applies if the device has had liquid exposure, a heavy drop, power surge damage, or a previous failed repair attempt. We also see plenty of cases where someone has already replaced the battery, screen, or charging port and the original problem is still there. That usually means the issue was deeper from the start.
For small businesses and anyone relying on a work phone or laptop, this matters because downtime adds up fast. You do not just want a part changed. You want the actual fault found.
How a technician approaches motherboard diagnostics
A proper diagnostic process starts with the symptom history. What happened before the failure? Was there a drop, liquid spill, sudden shutdown, fake charger, overheating event, or intermittent charging issue? These details help narrow the likely fault area.
Next comes physical inspection. A technician checks for cracked connectors, burnt components, corrosion, lifted pads, pry damage, and signs of previous tampering. On many devices, the damage is not visible until shields are removed and the board is inspected under magnification.
After that, electrical testing starts. This may include current draw testing with a DC power supply, diode mode measurements, resistance checks on power rails, charge-line testing, thermal inspection to find hot components, and verifying that key voltage lines are present when the device attempts to boot.
If needed, the board is separated further for micro-soldering work. That can mean removing shields, replacing damaged components, reworking connectors, or isolating shorted lines. In some cases, a chip-level issue can be repaired cleanly. In others, the damage is too extensive or tied to critical paired components, making the repair less economical.
That is the part many customers appreciate – a real diagnosis gives you a decision point, not just a bill.
Motherboard diagnostics explained clearly for common devices
Phones are the most common board-diagnostic jobs because they are exposed to drops, pocket moisture, cheap cables, and constant charging cycles. Typical faults include charge IC failure, backlight damage, no touch after impact, audio IC faults, face ID or camera line damage, and corrosion after liquid exposure.
Laptops and MacBooks present differently. They may show no power, no image, battery not detected, keyboard lines failing, random shutdowns, or charging issues tied to USB-C circuitry. On these devices, board diagnostics often determine whether the machine needs a simple component repair or whether data recovery should be prioritised before the fault worsens.
Gaming consoles also benefit from board-level diagnosis. A PS5 with no display may have an HDMI port problem, but the board itself can also be damaged around the encoder or filter area. A console that shuts down under load may point to power delivery faults rather than a simple fan issue.
Each category needs different experience. The principles are similar, but the failure patterns and repair paths are not identical.
When repair is worth it – and when it is not
Not every motherboard fault should be repaired. That is the honest part.
If the fault is isolated, such as a shorted capacitor, damaged connector, charging circuit issue, or localised corrosion, repair can be very worthwhile. It is often faster and cheaper than replacing the entire device, especially when the data matters.
If the board has severe liquid damage across multiple areas, heavy layer damage, CPU or memory failure, or serious previous repair damage, the success rate drops. Sometimes the smarter move is data recovery first, then replacement planning.
This is why clear diagnostics matter more than promises. The right technician should tell you what is likely, what is risky, and whether the repair makes financial sense.
What customers should ask before approving a board repair
Ask whether the issue has been confirmed at board level or is still a suspected fault. Ask if the diagnostic process includes charge testing, current draw analysis, and inspection for liquid or previous repair damage. Ask whether the repair is likely to preserve data, and whether there is any risk of the fault worsening during testing.
It is also worth asking about turnaround and warranty. Board work is more specialised than a standard screen replacement, so timing can vary depending on fault complexity and parts availability. A good repairer will be upfront about that rather than overpromising.
For Darwin customers dealing with urgent device failures, that clarity matters. At iSmashed, the value in diagnostics is simple: find the real fault fast, avoid wasted part swaps, and give you a practical path back to a working device.
Why clear diagnosis saves money
The cheapest quote is not always the cheapest outcome. If a shop replaces two or three parts without fixing the problem, you are paying for trial and error. Worse, poor board handling can create new damage.
A proper diagnostic fee often saves money because it narrows the fault early. It also protects devices that still have recoverable data. That is especially important for phones with family photos, business contacts, or two-factor authentication apps, and laptops carrying study or work files.
When motherboard diagnostics are done properly, you get more than a technical answer. You get a realistic repair plan, a better idea of timing, and fewer surprises.
If your device is showing signs of a deeper fault, do not wait for it to fail completely. Early testing usually gives you more repair options, and sometimes the difference between a straightforward board fix and a full data-recovery job is just a few days.Post navigation